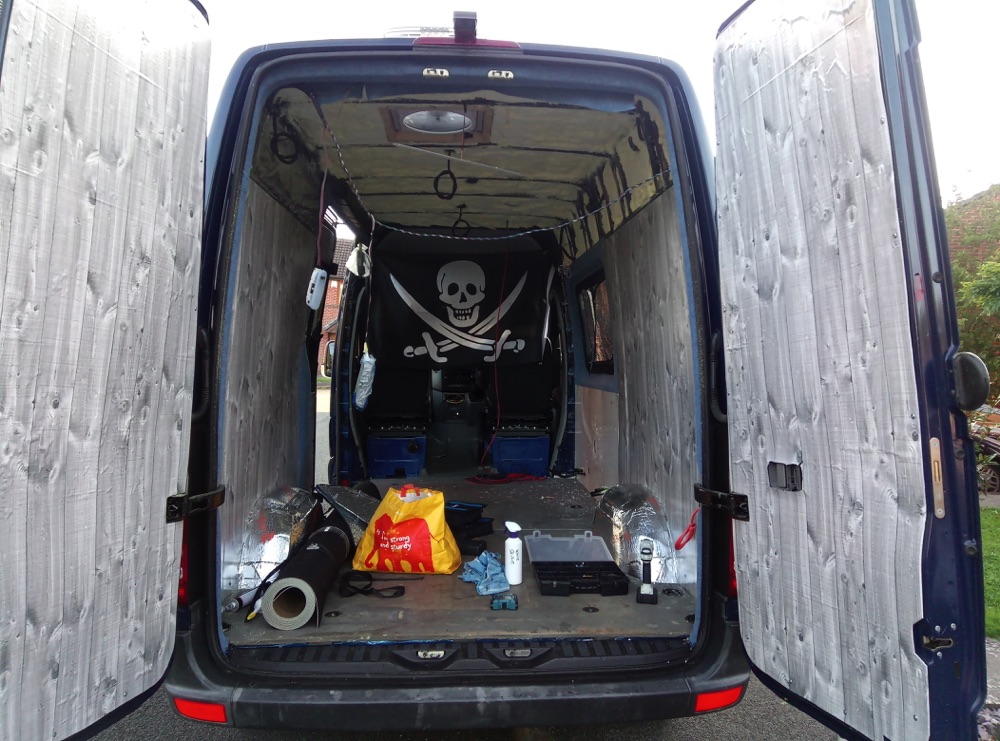
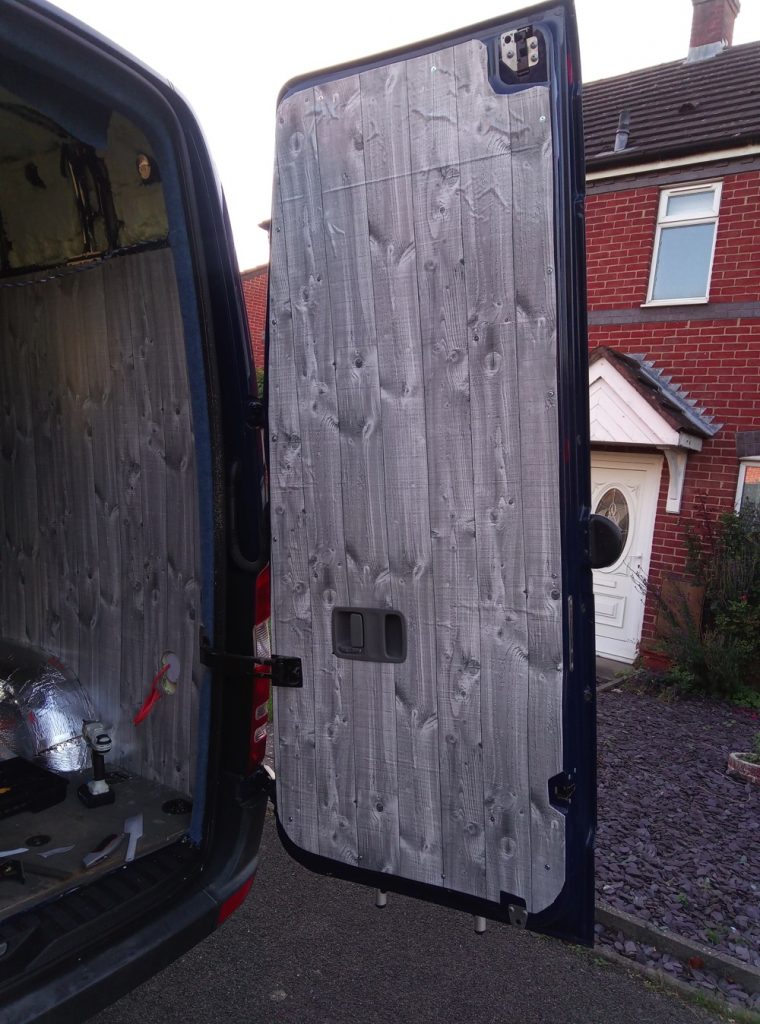
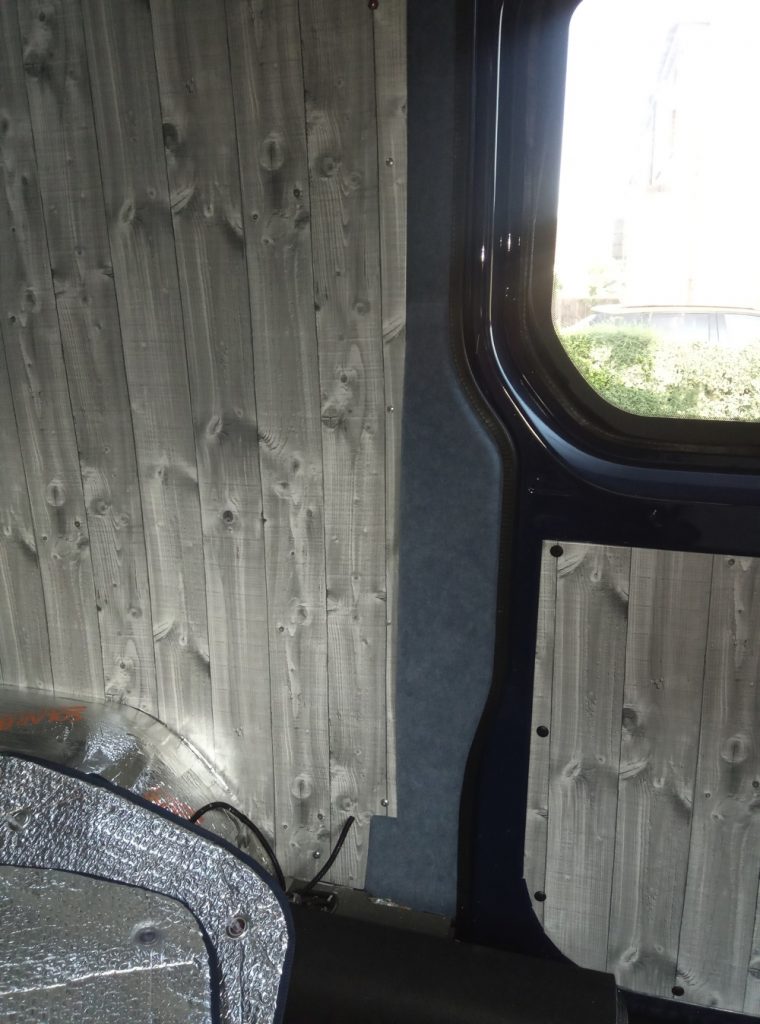
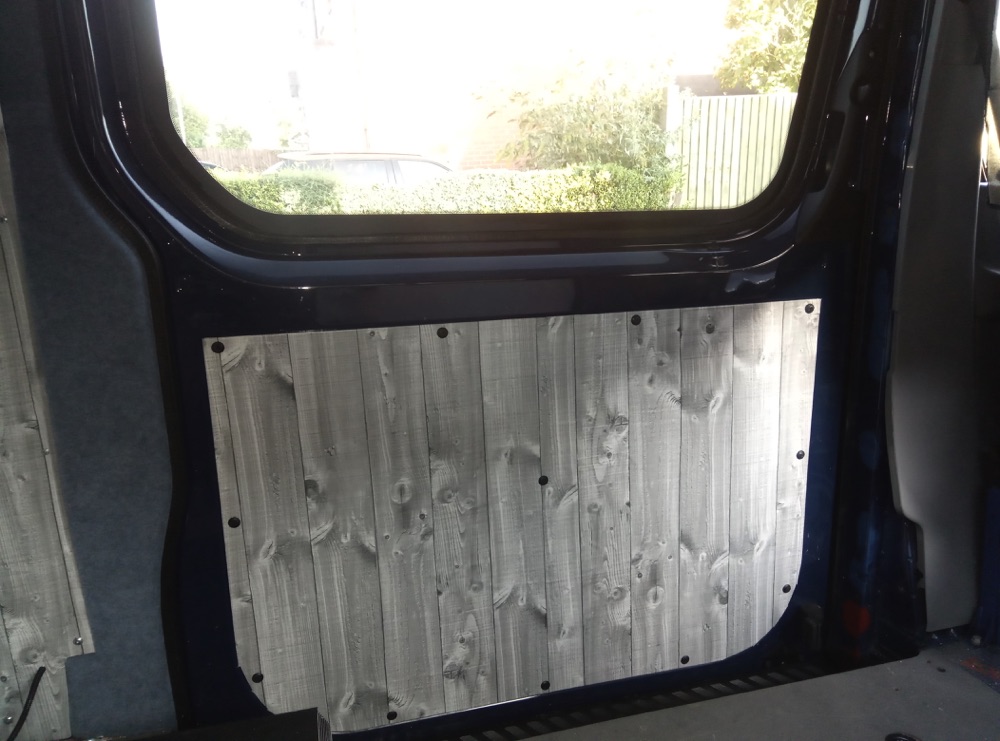
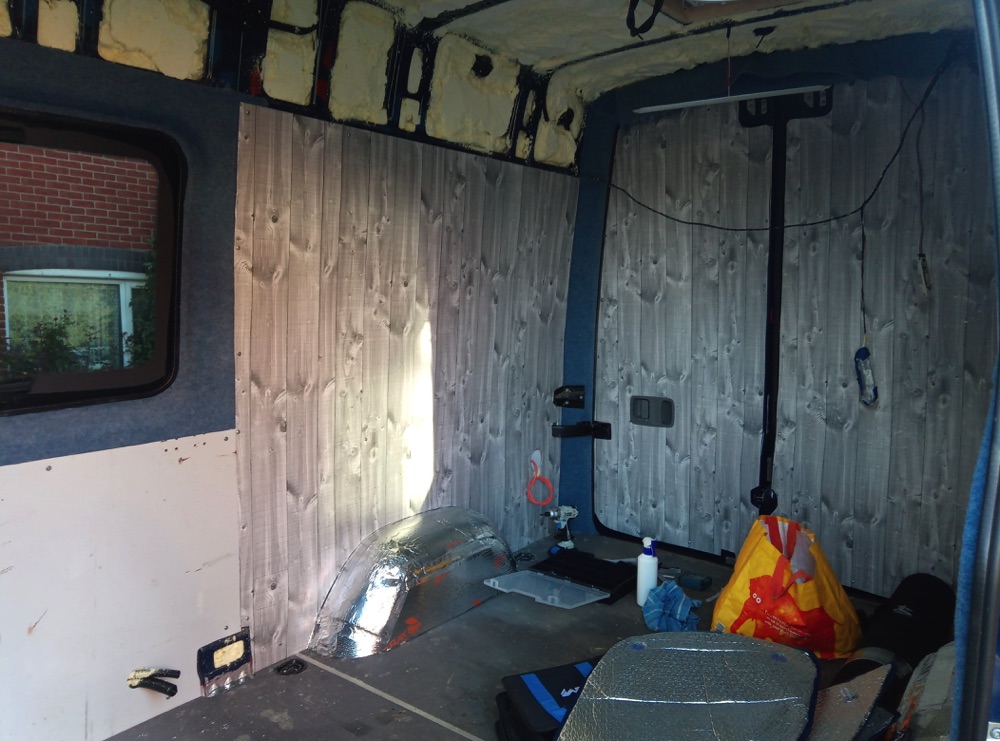
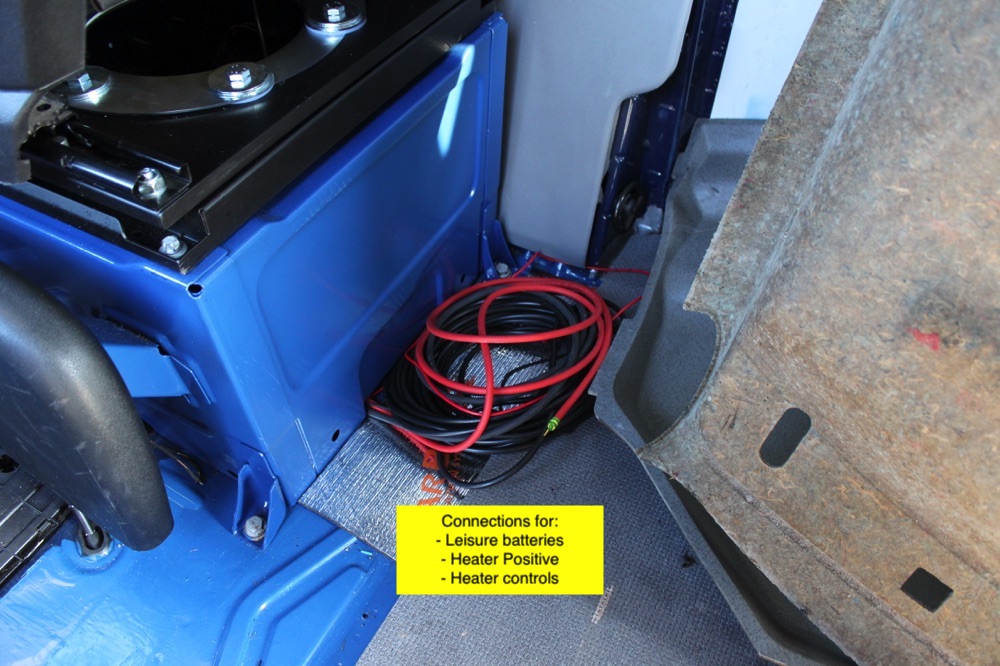
Wall panels have been installed and covered with PVC sheets. Some parts of the wall have been carpeted and the arch between driving area and cargo installed. Power socket and water inlet are ready too.
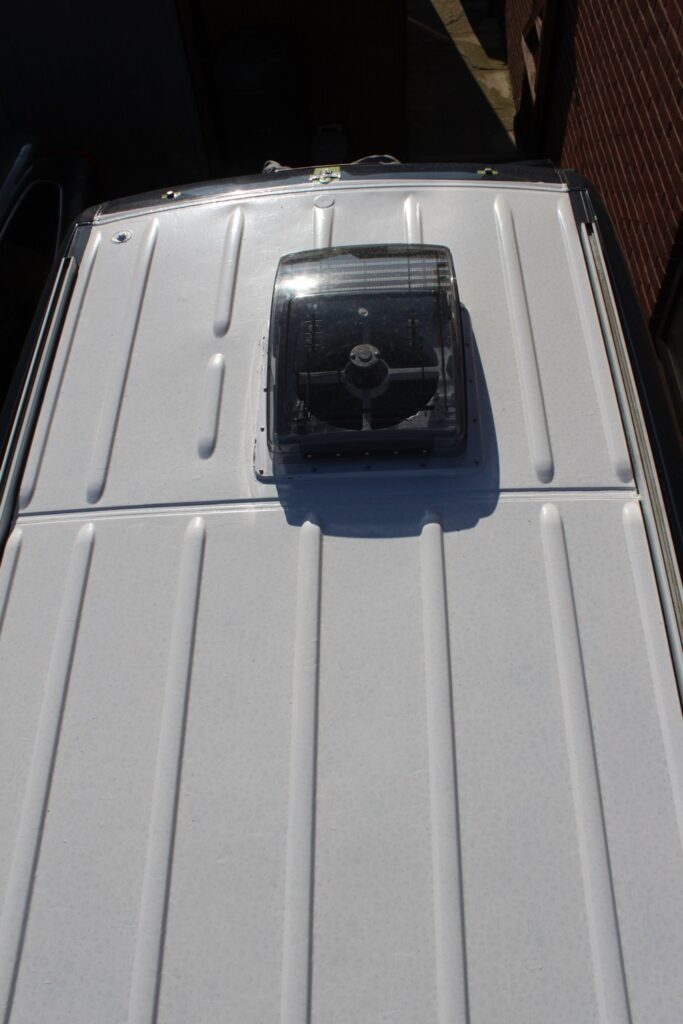
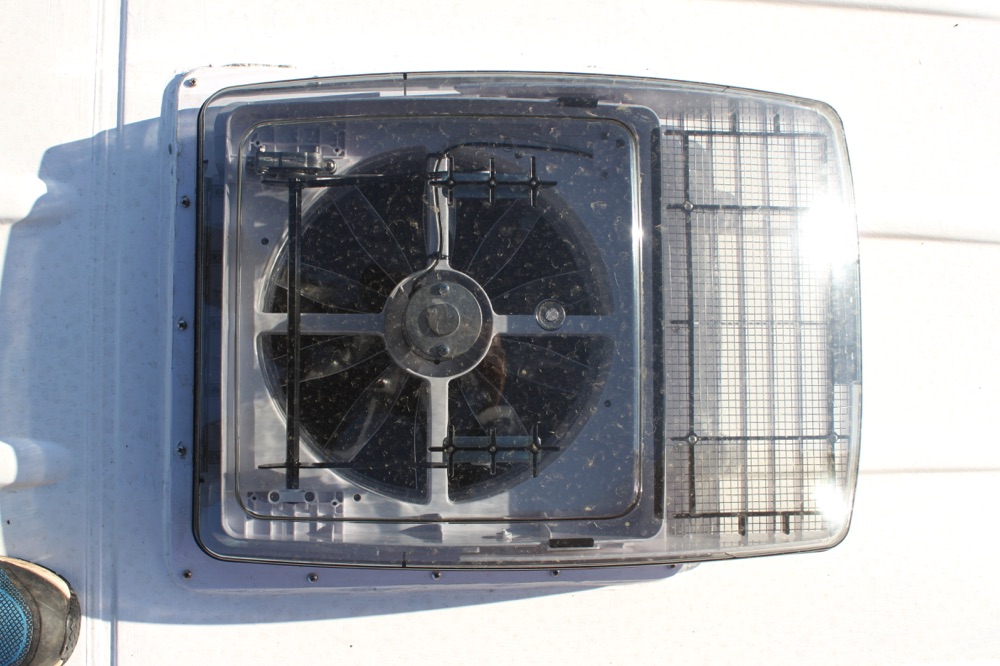
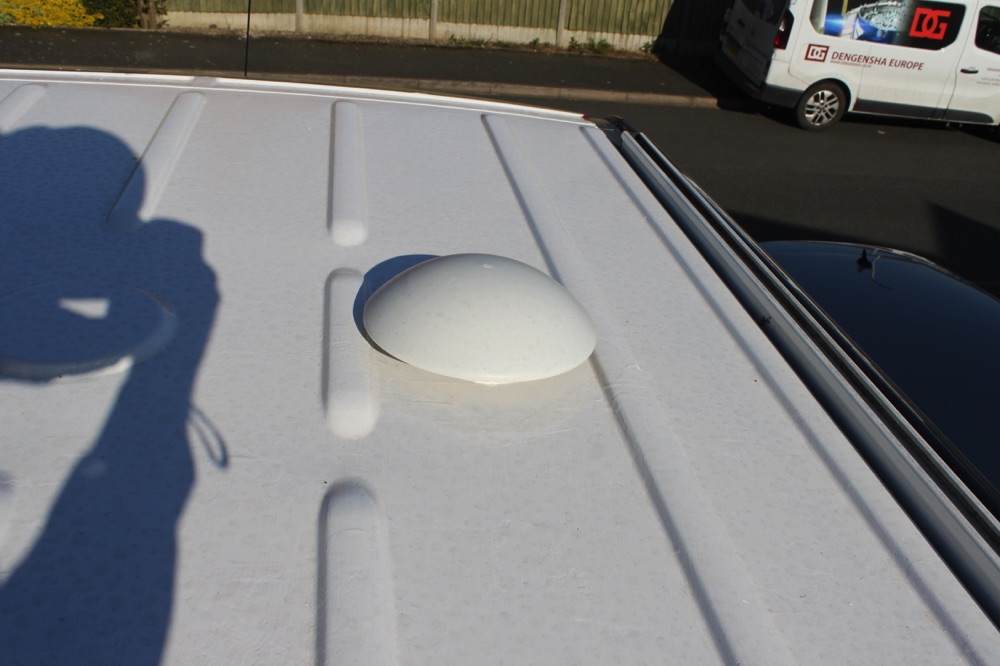
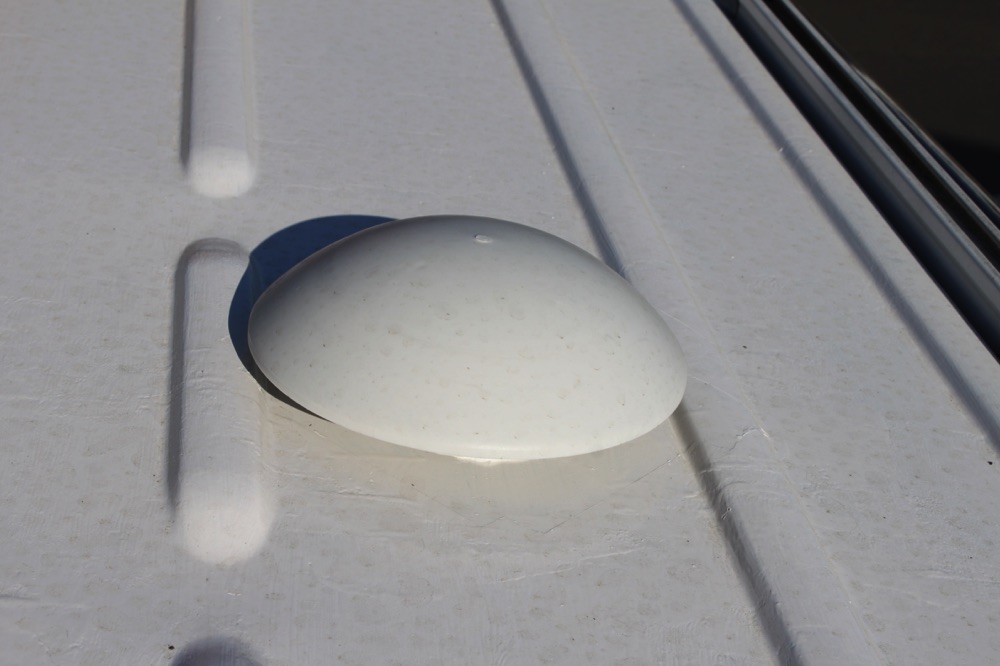
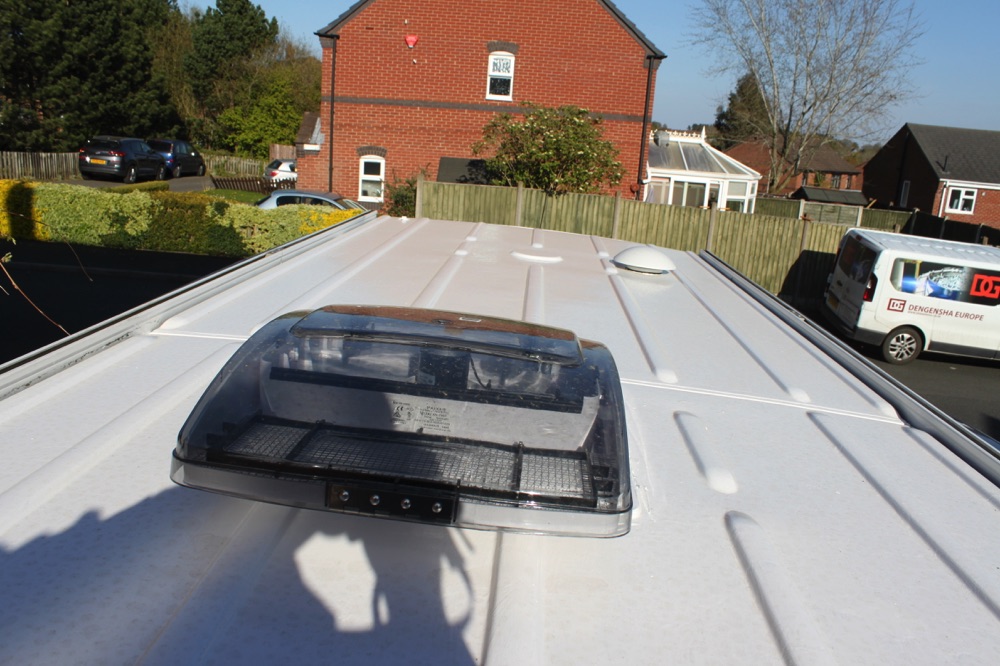
The roof is ongoing, hopefully will be ready by November.
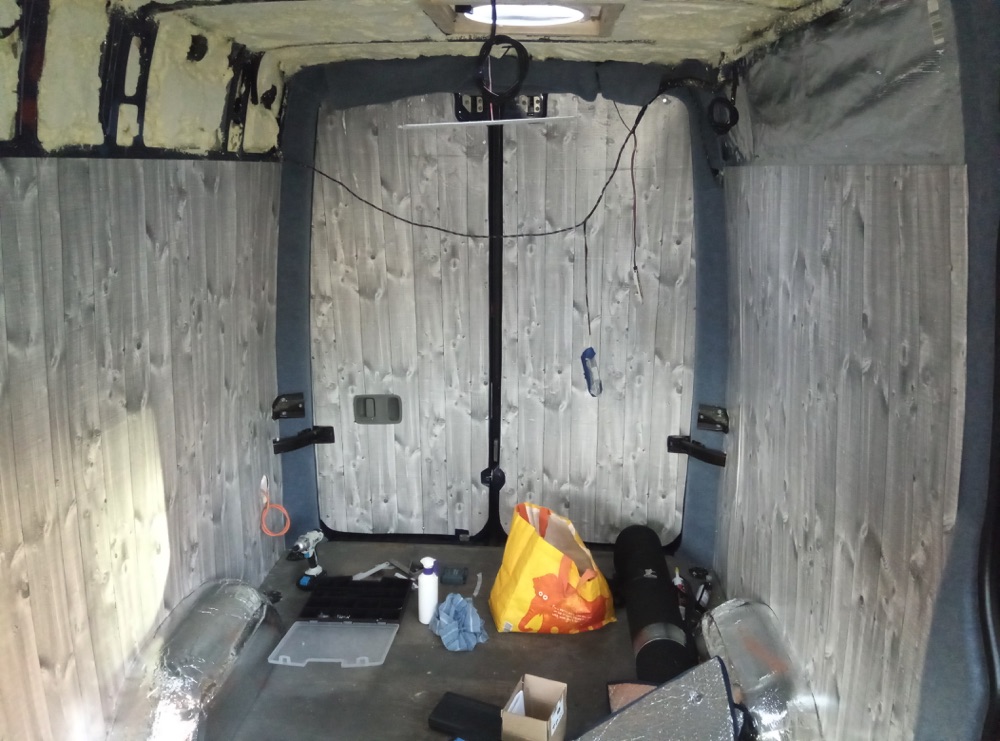
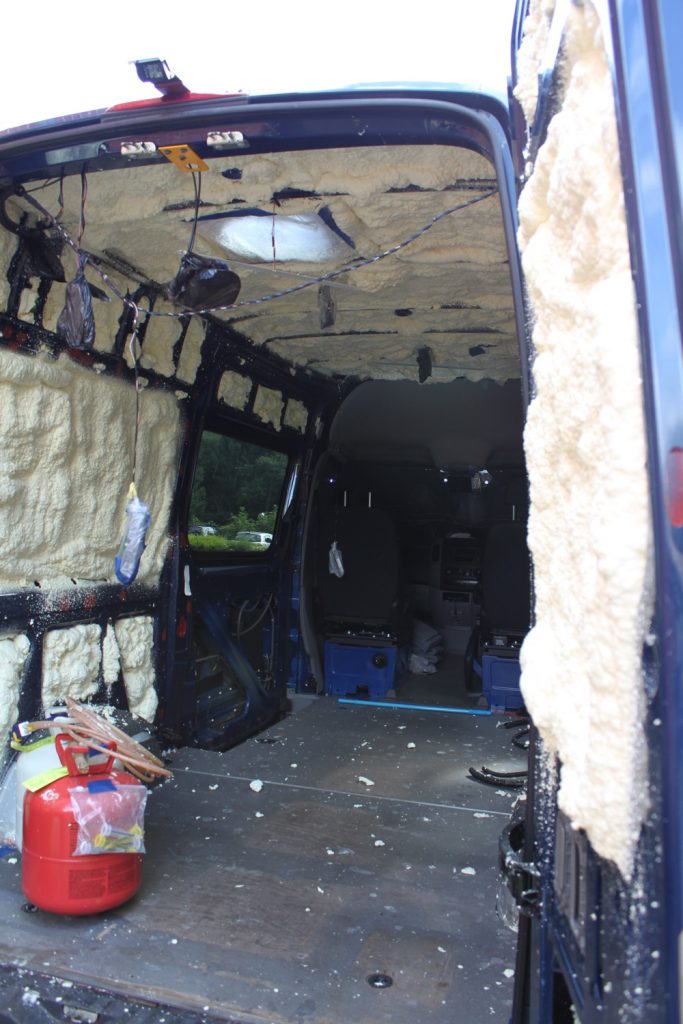
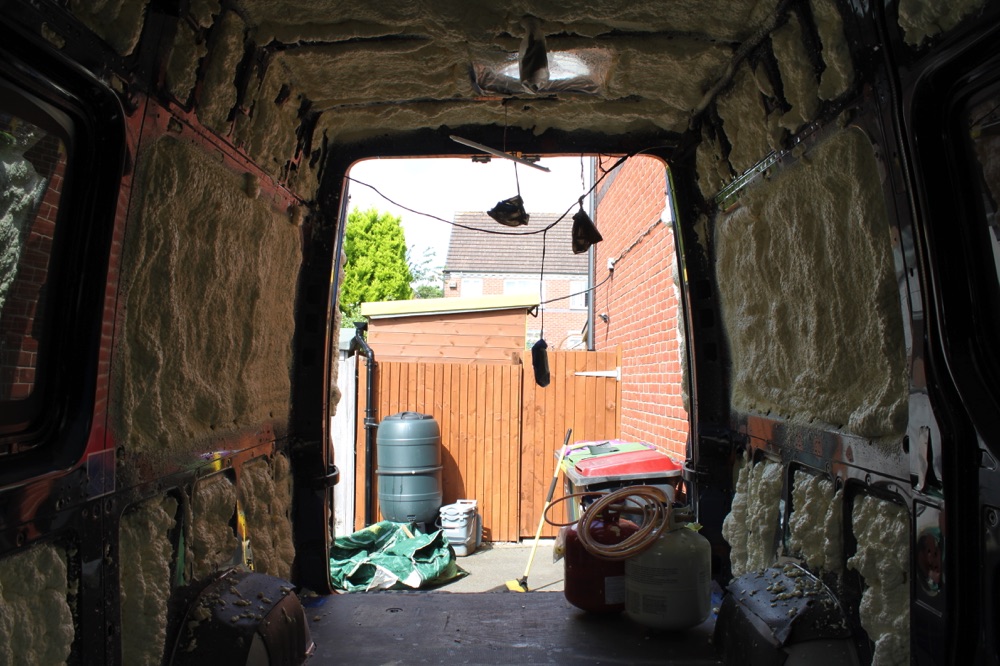
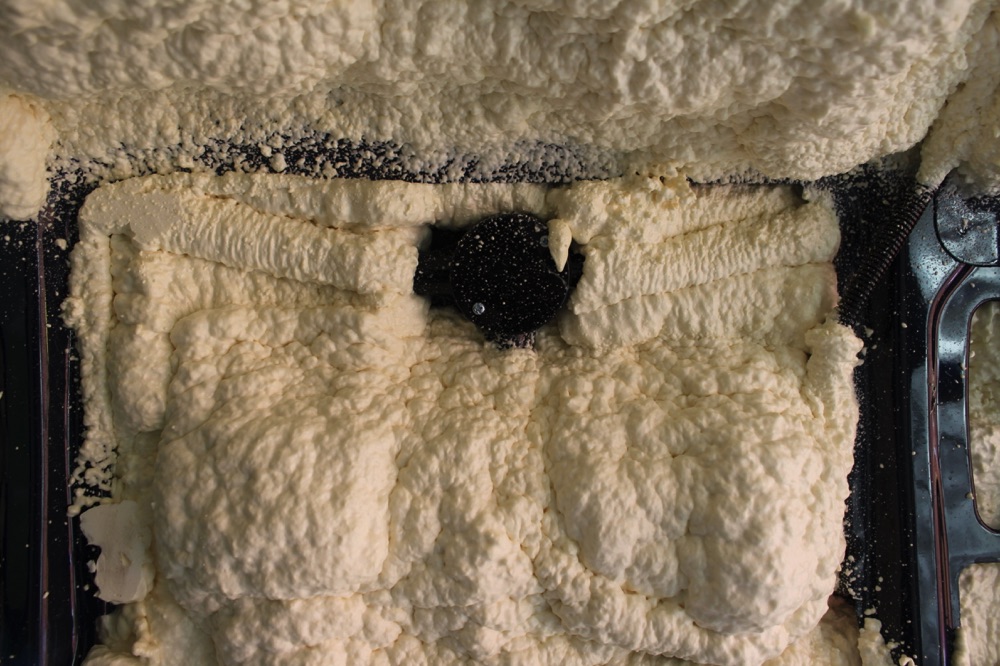
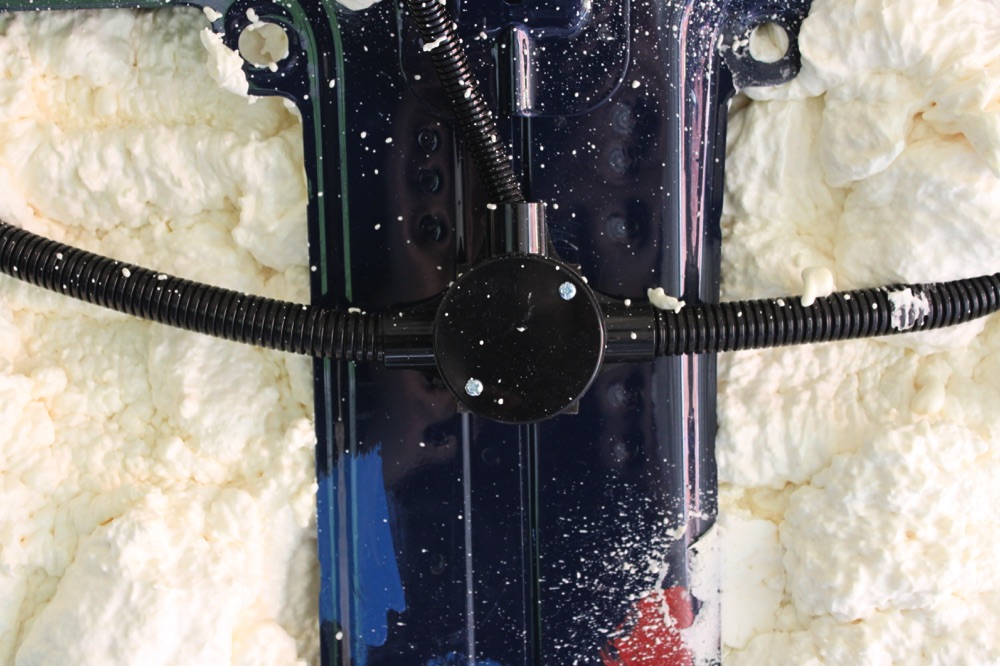
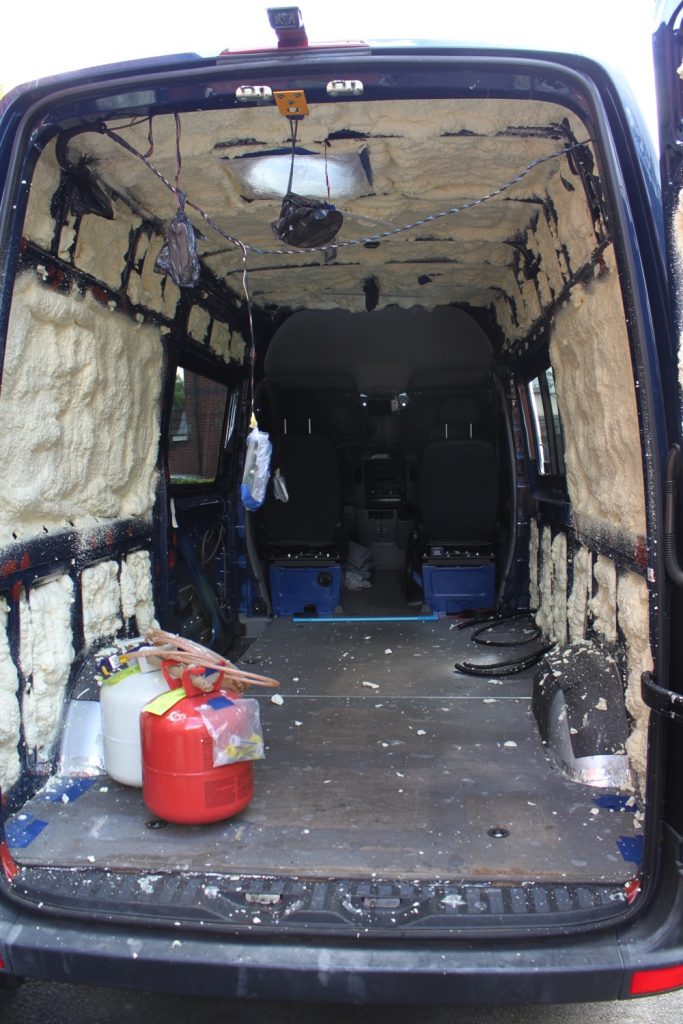
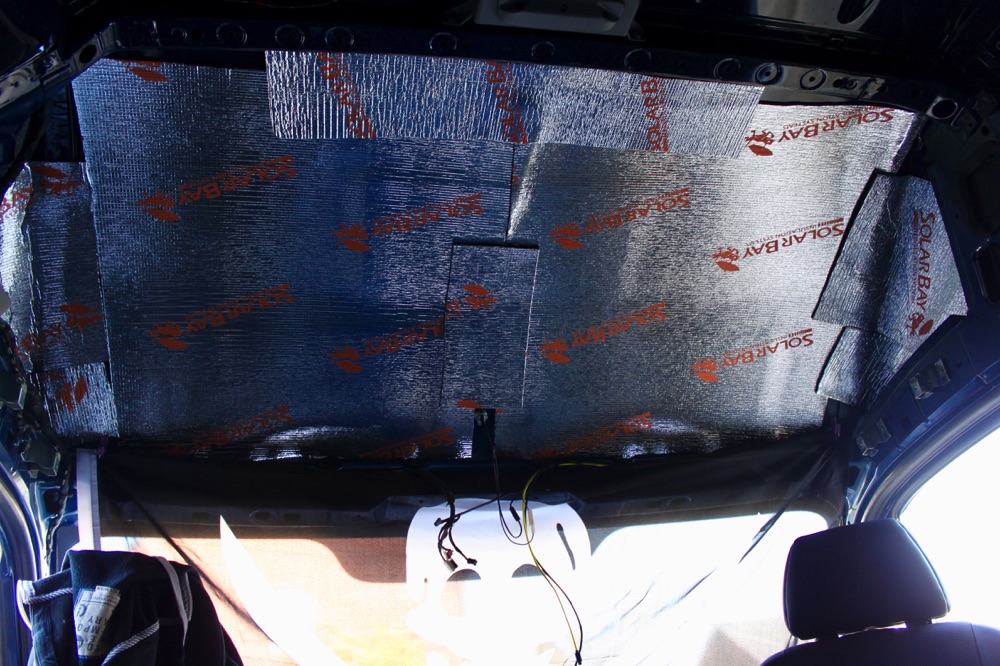
So far, the insulation has been done using a close cell spray foam.
It provide a good thermal and acoustic insulation, but is a bit messy to apply and quite expensive. I won’t use it again and go for thermal panels next time.
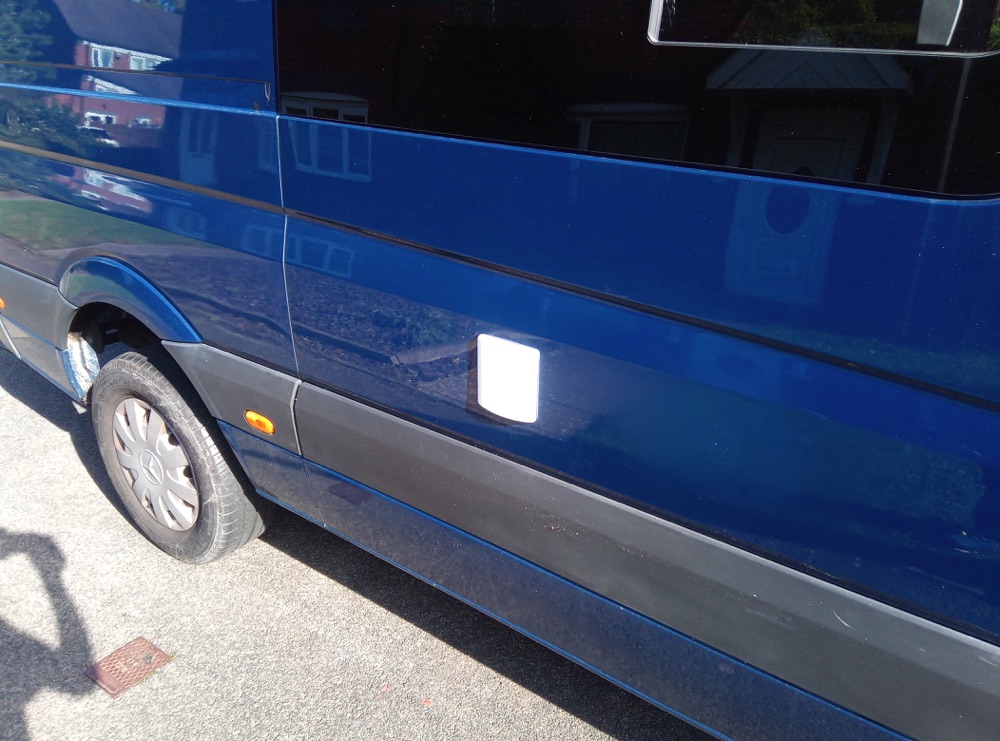
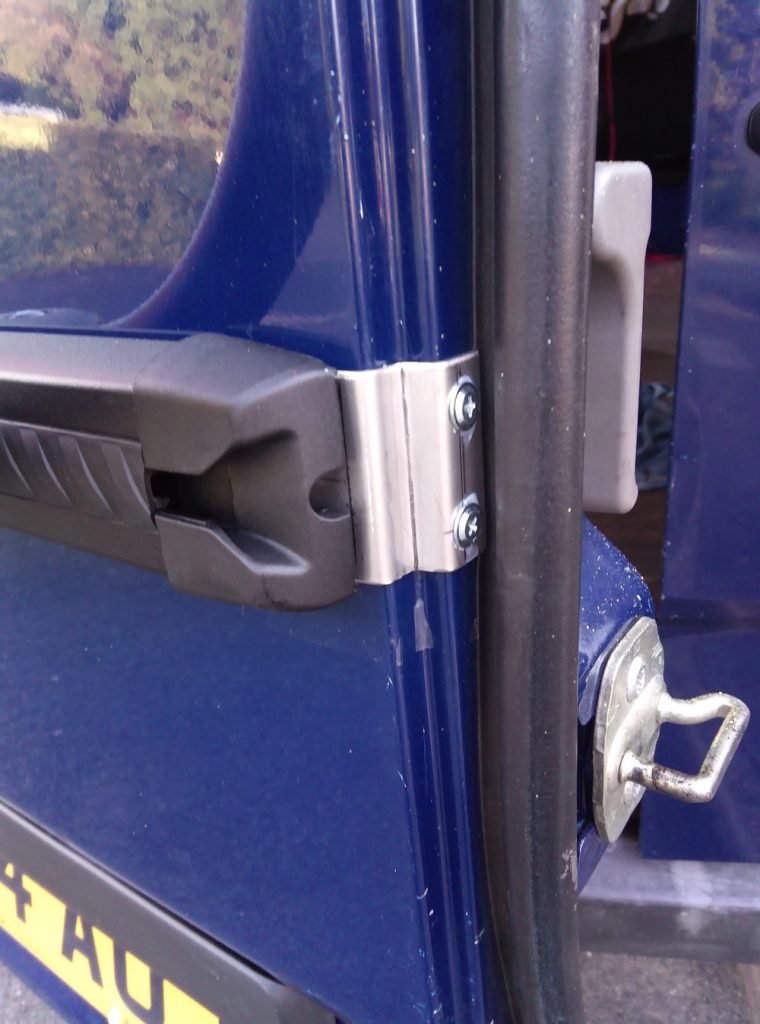
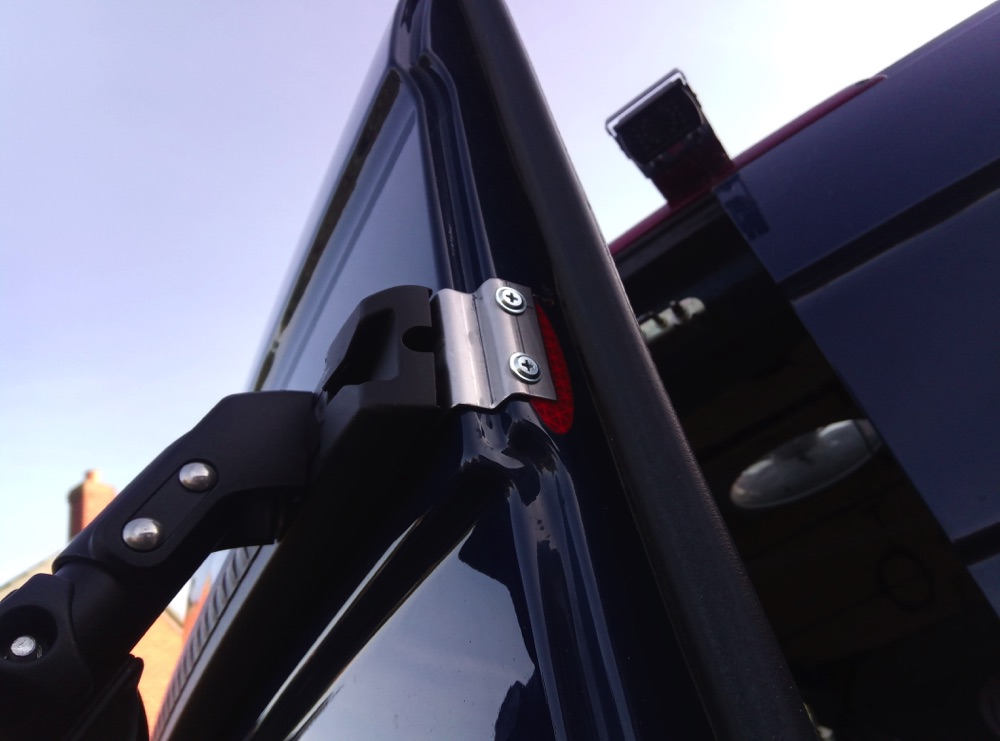
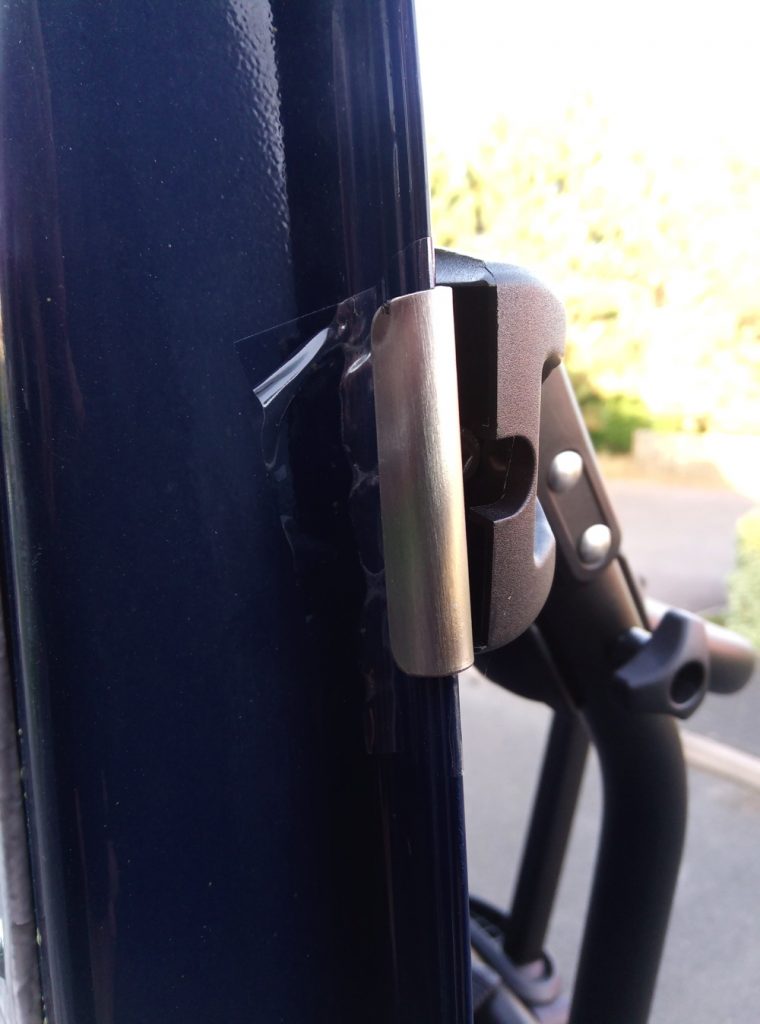
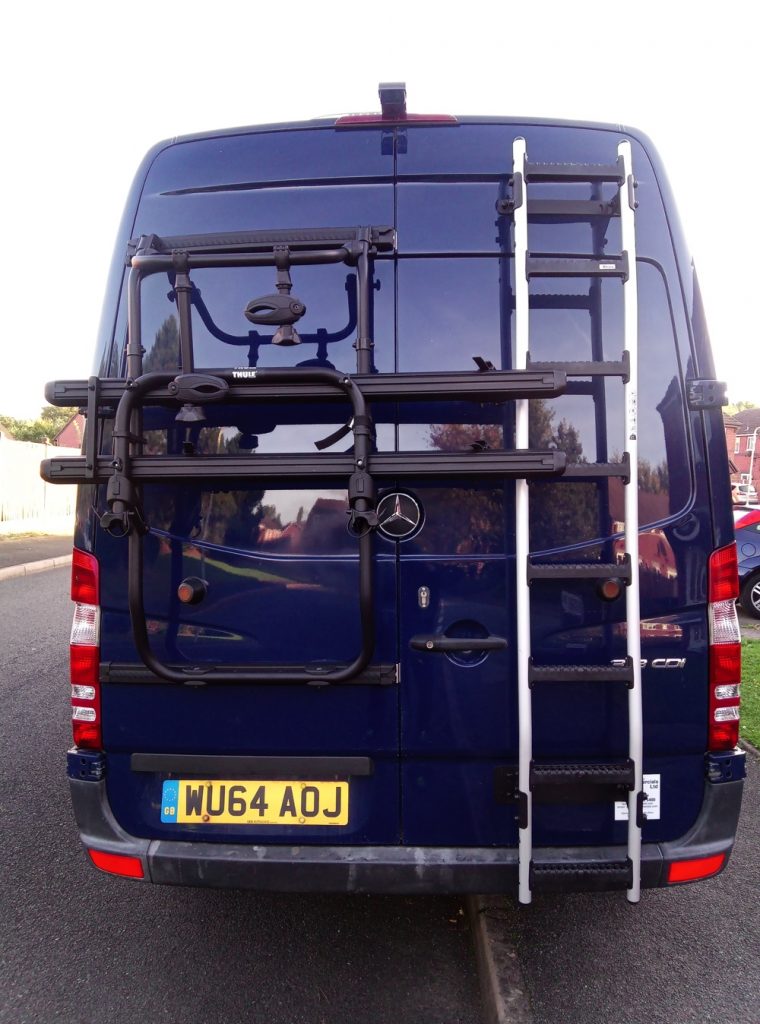
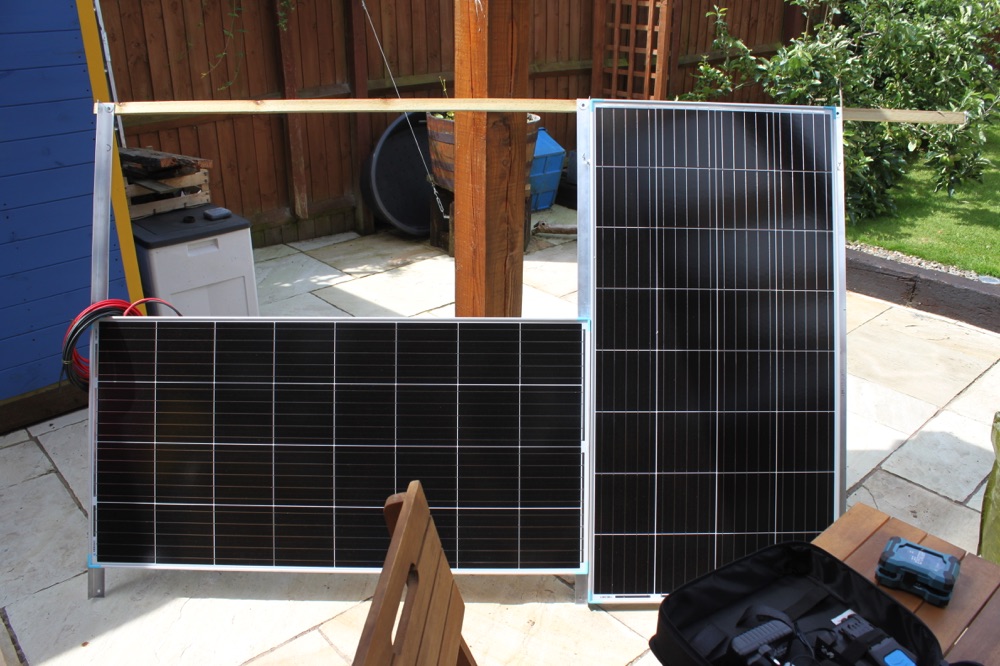
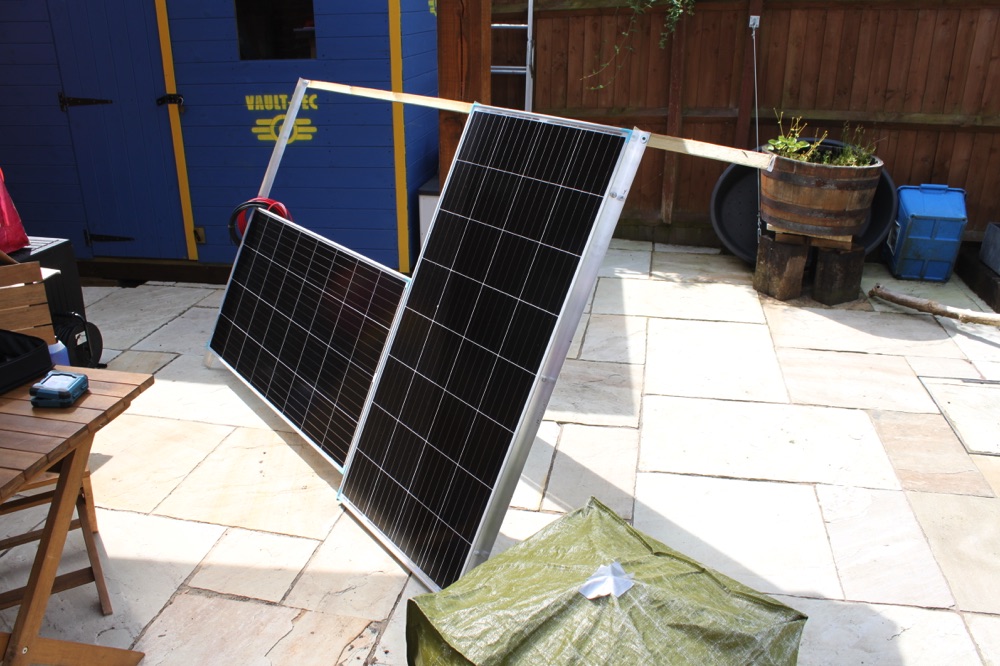
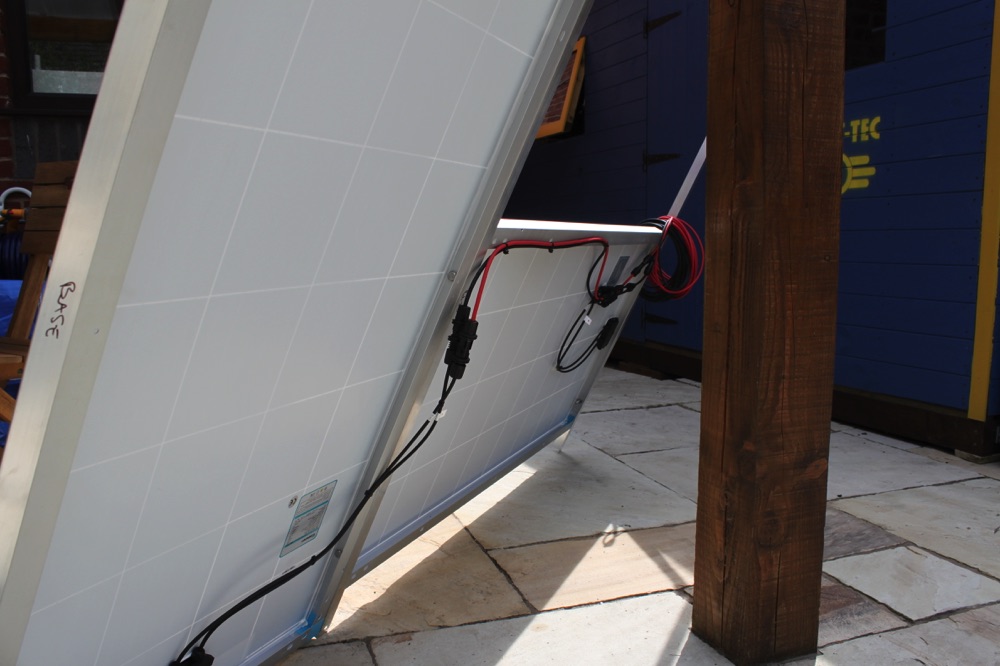
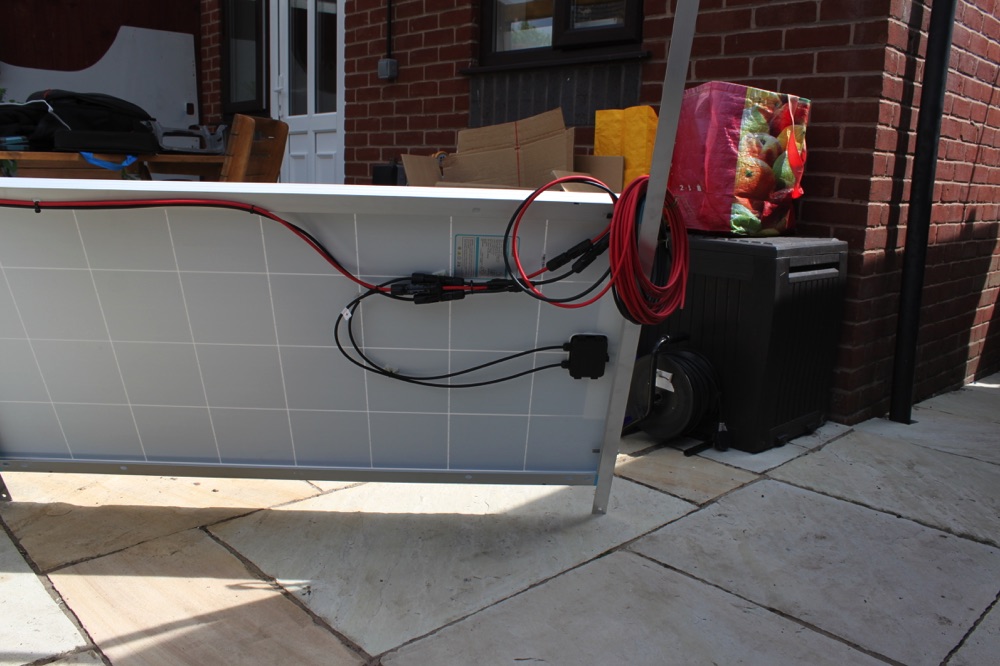
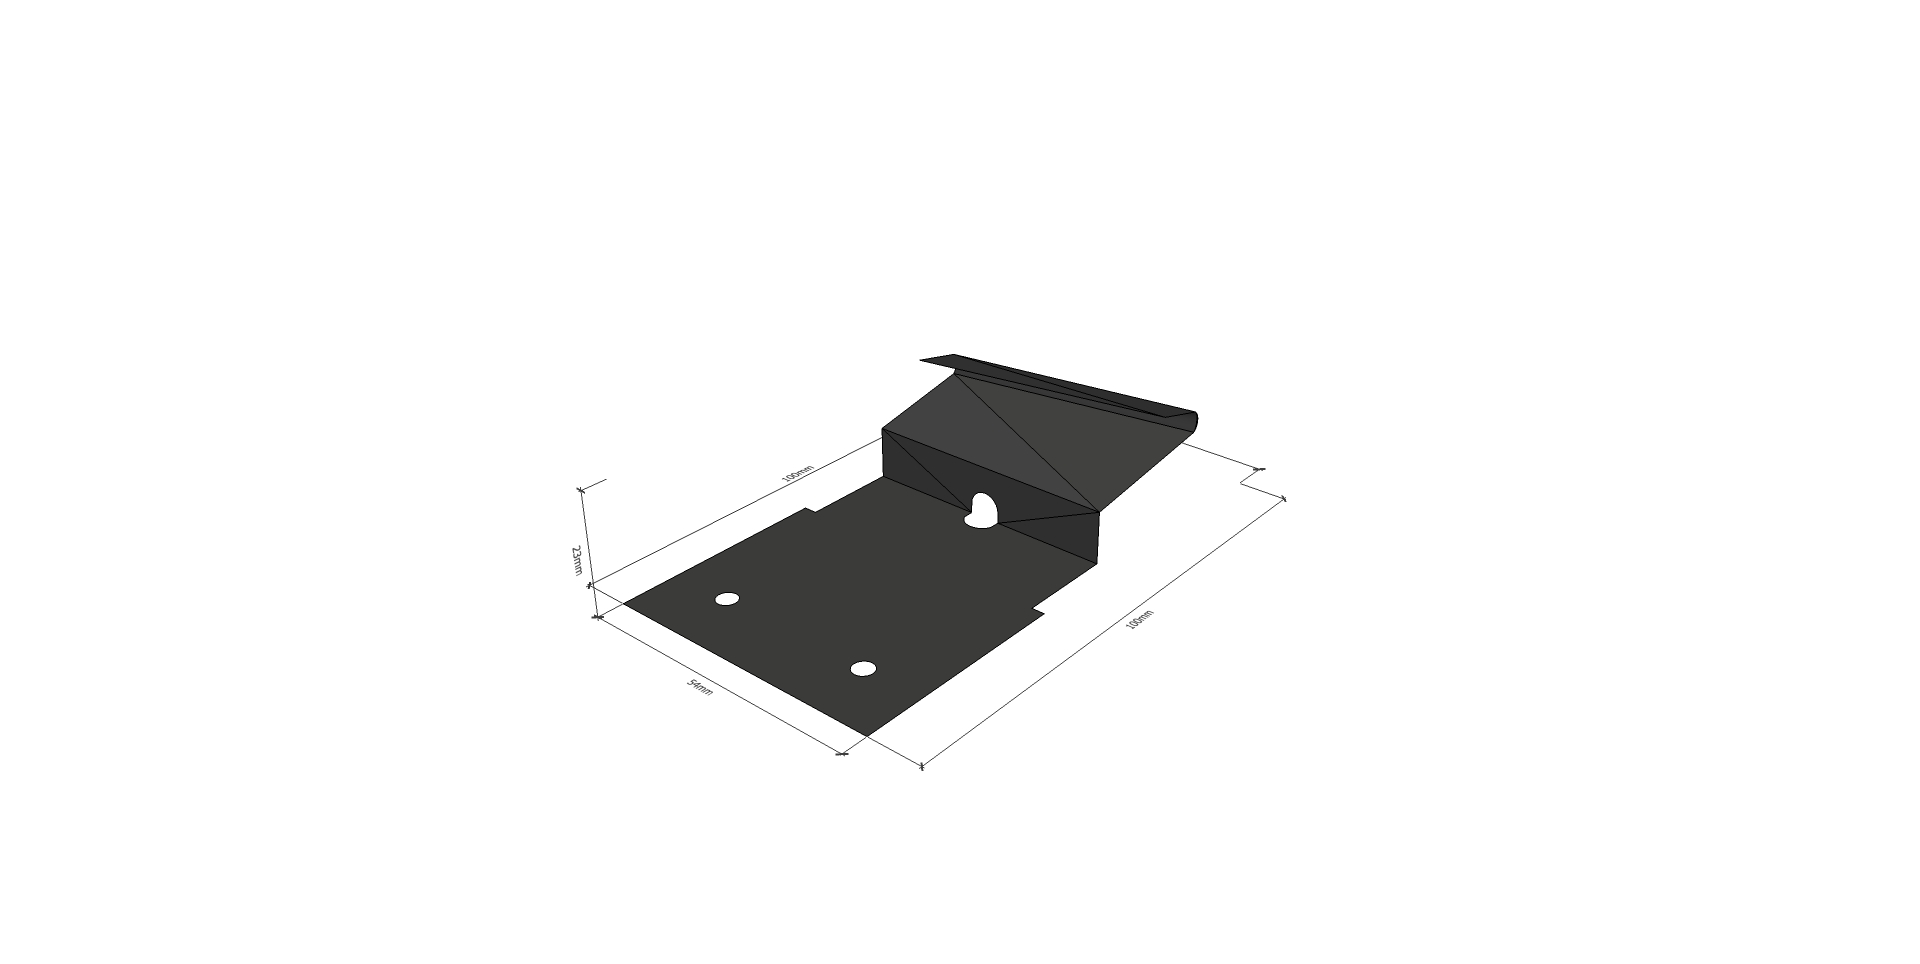
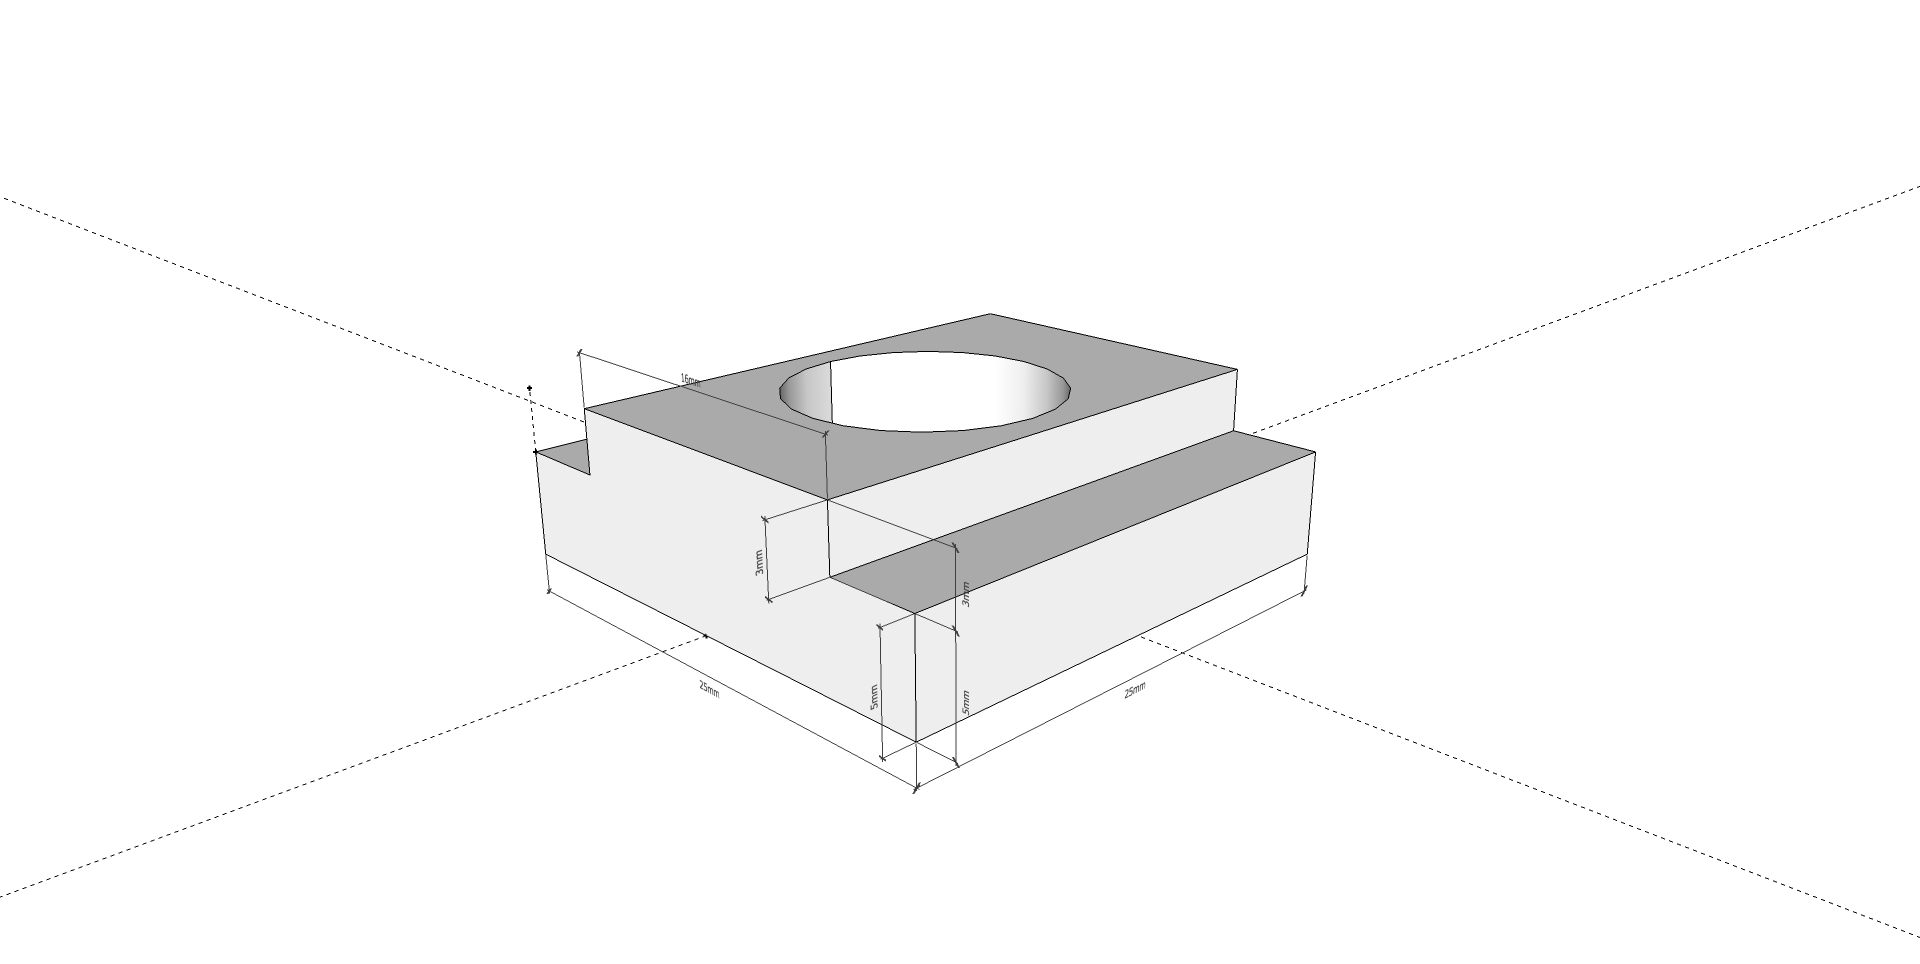
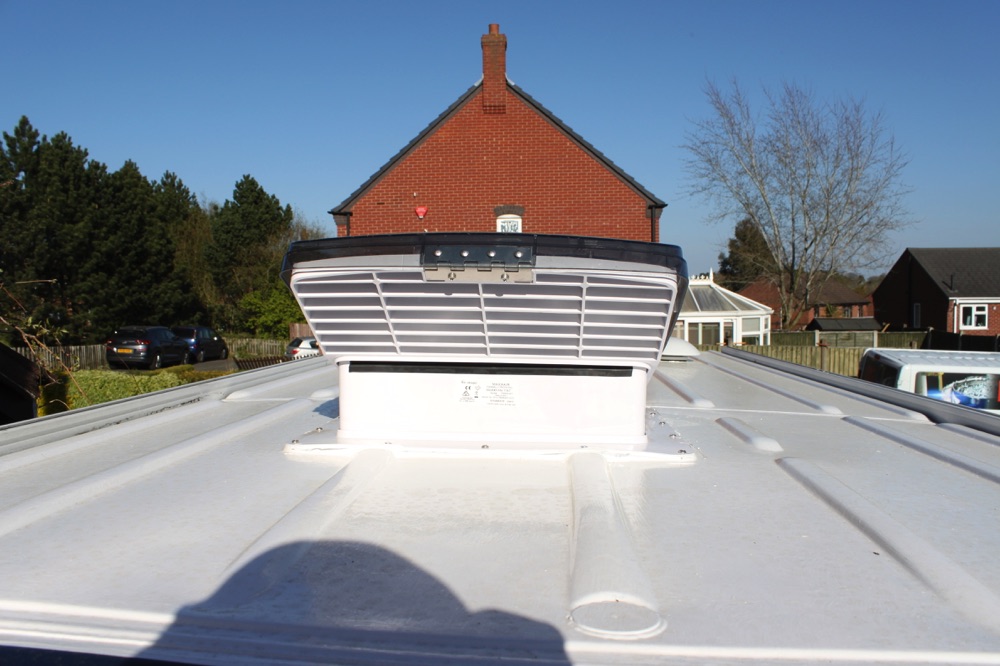
Rear ladder has been installed and the bike rack and the solar panels are ready to be installed to, unfortunately I had to create (a company is making it) some custom stainless steel parts:
t-nuts for the solar panel due the non-standard roof rail.
left hand plate for the bike rack, due the installation on the left side.
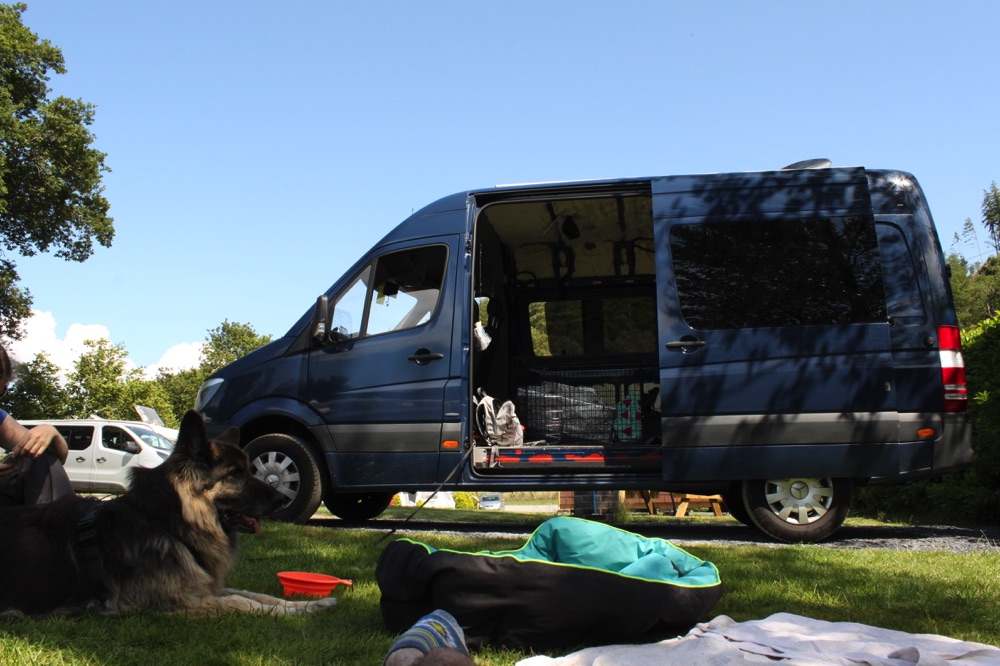
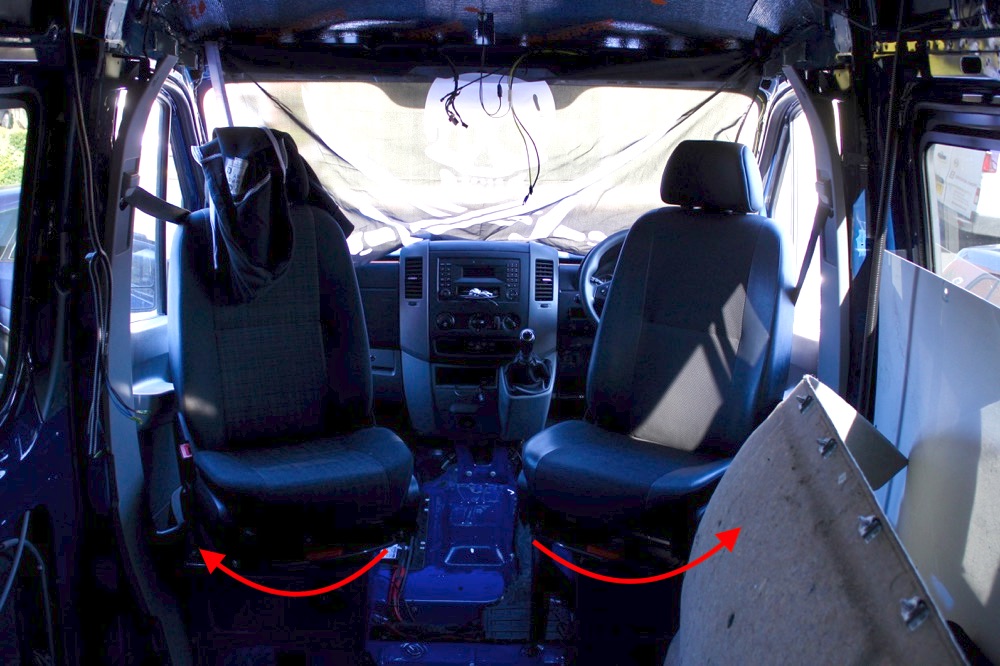
But we did not resist to spend one night in Wales and test the comfort of the van
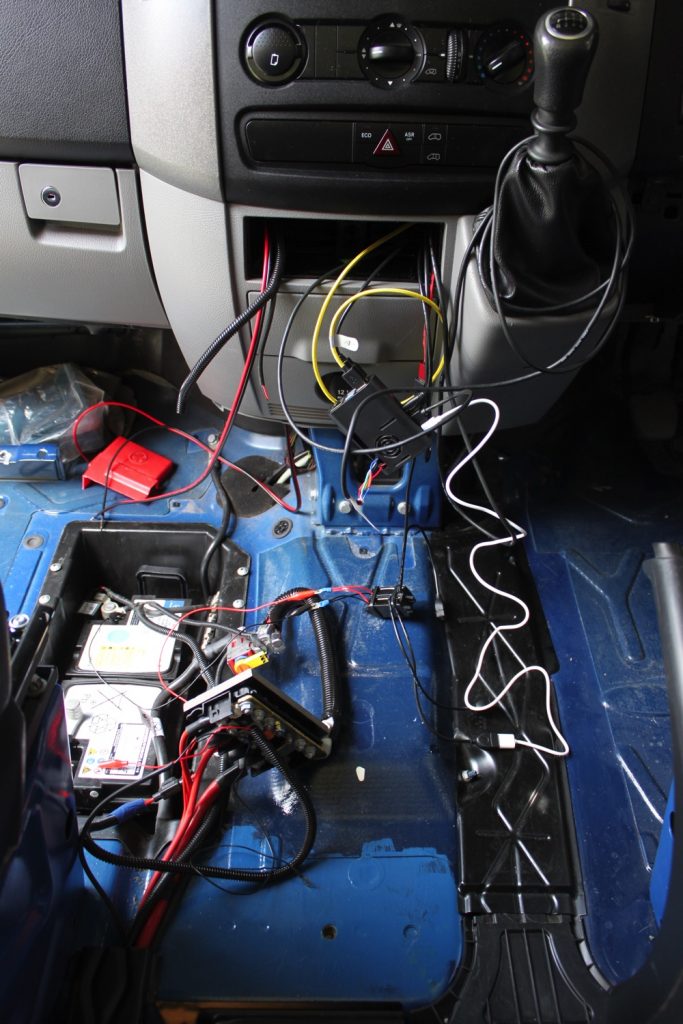
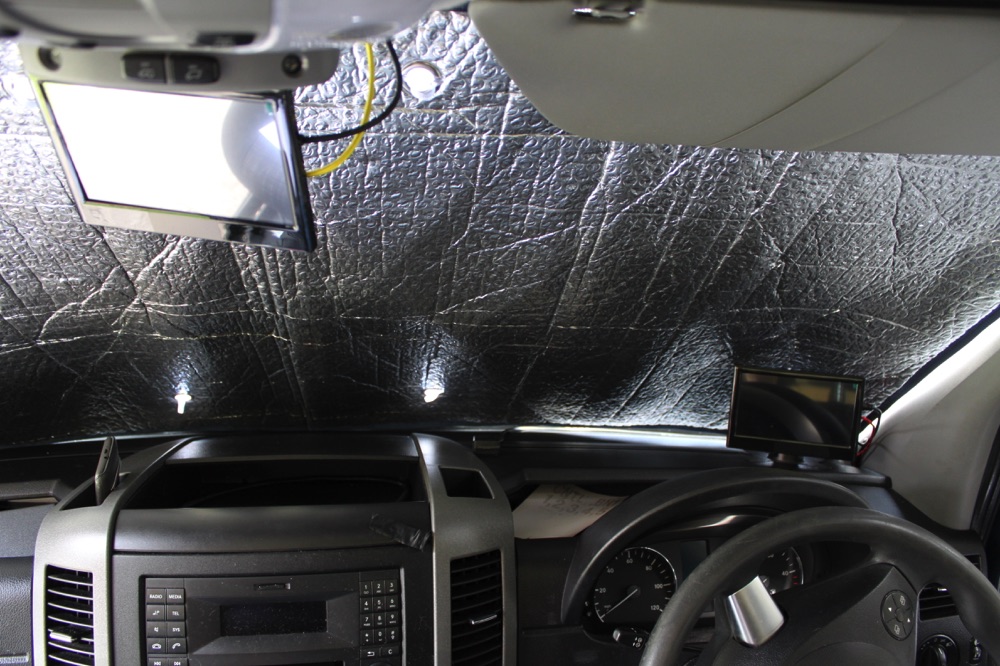
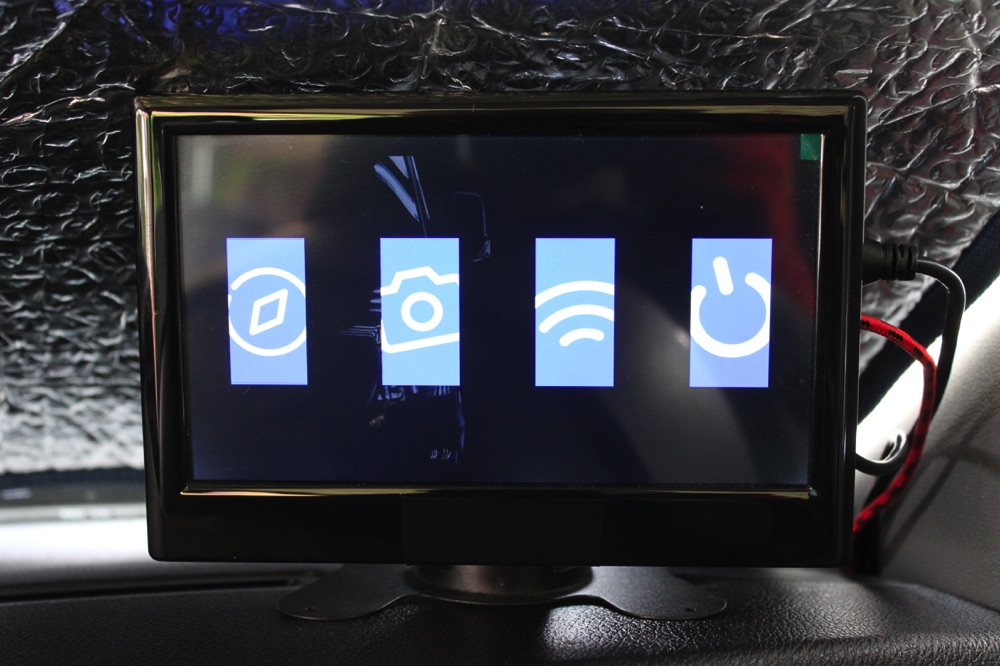
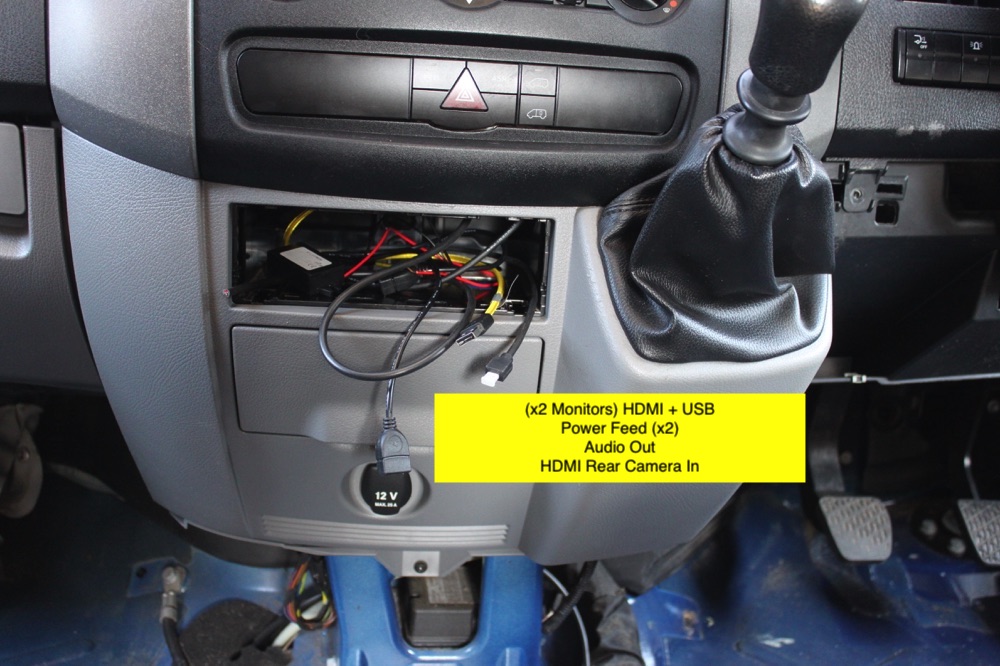
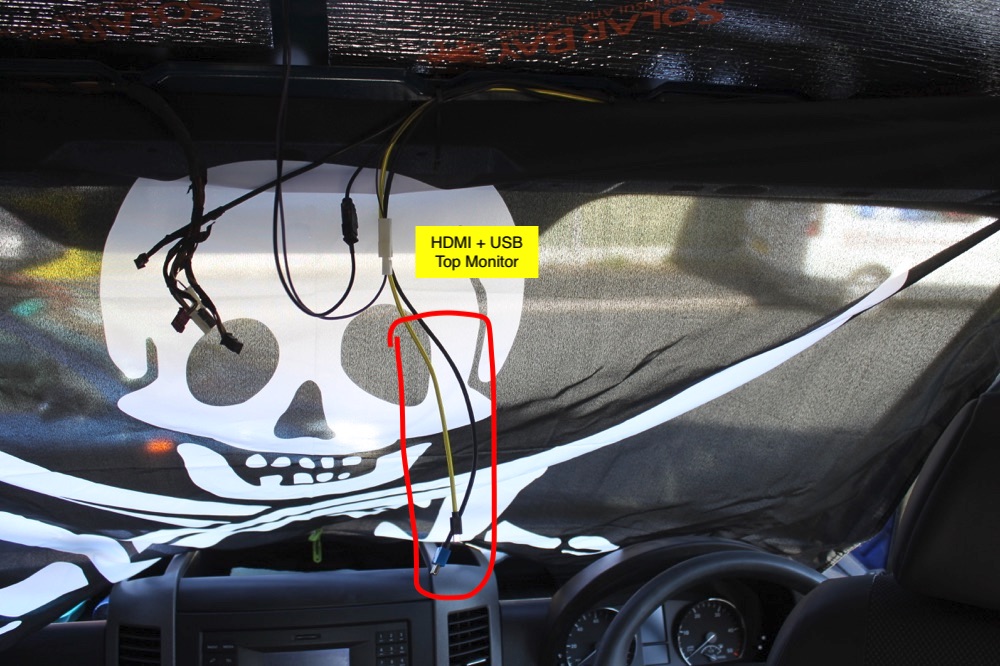
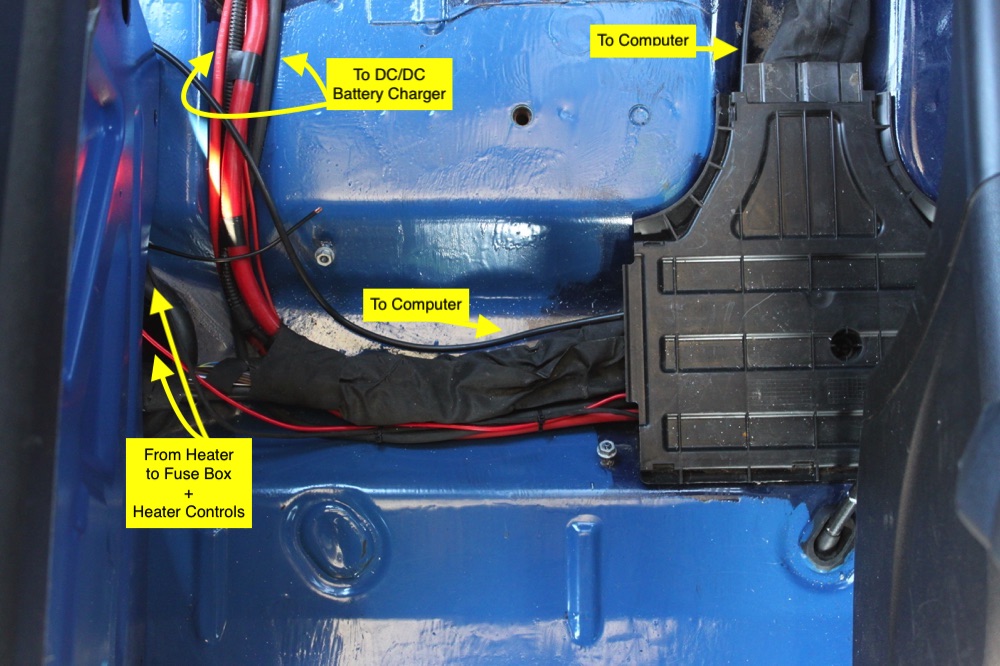
Today I tested the Navigator, I will write a post (with full instructions and code!) about some changes that I made to solve some problems, meanwhile a some media that show the idea of the final design.
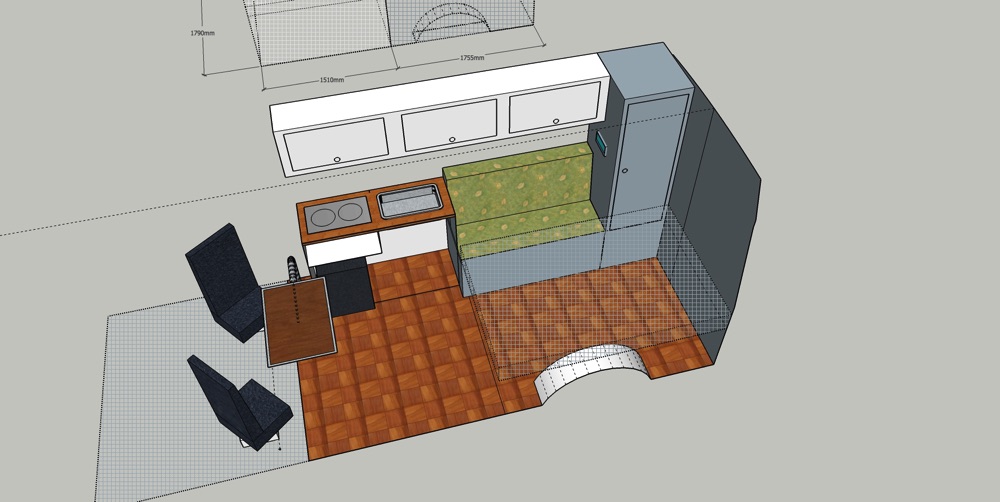
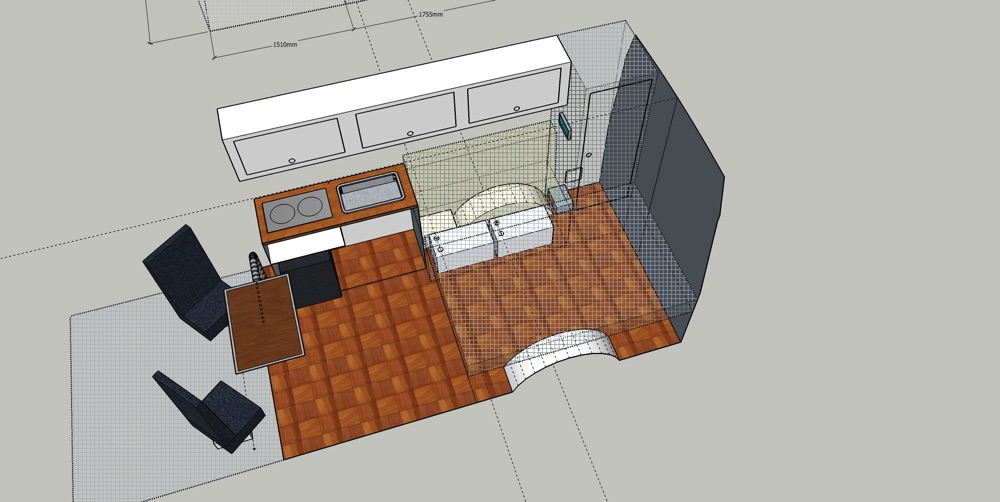
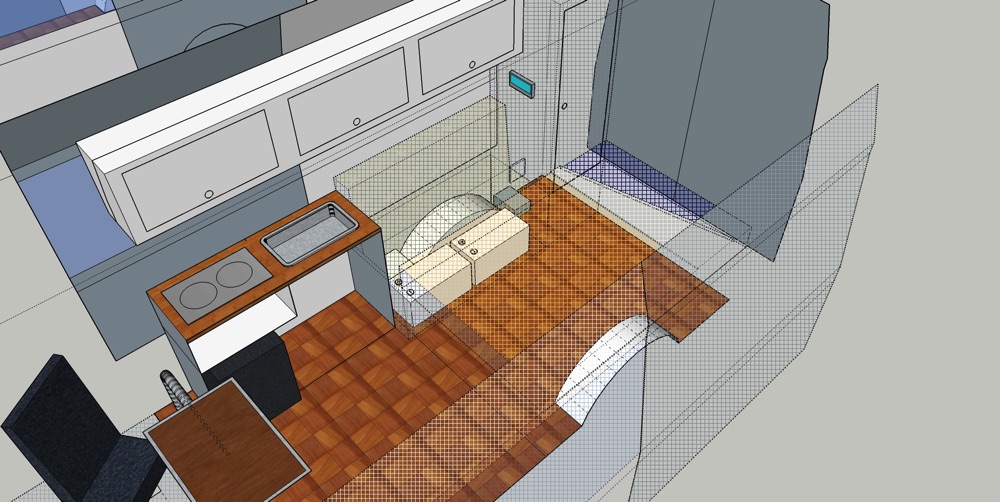
The bed is under design, I have been in contact with a company near home to discuss about. Here’s a sketch:
Navit is a free and open-source car navigation that support for various vector map formats. Is written in C/C++ and can run on a wide range of machines, included Raspberry Pi.
Installation:
Before start the installation, be sure to have the GPS module connected and working on your Raspberry Pi (previous post).
turn on the raspberry and open the terminal
update with sudo apt-get update and sudo atp-get upgrade
configure GPS listeners from boot: sudo nano /etc/rc.local
copy those commands:
sudo systemctl stop gpsd.socket
sudo systemctl disable gpsd.socket
sudo gpsd /dev/serial0 -F /var/run/gpsd.sock
save and reboot
open terminal and type: sudo apt-get install navit
download a map (.bin), use Planet Extractor, quick and simple (you can use Garmin maps too)
copy the map inside /home/pi/navit directory (you can rename it with a shorter name)
navigate to /etc/navit
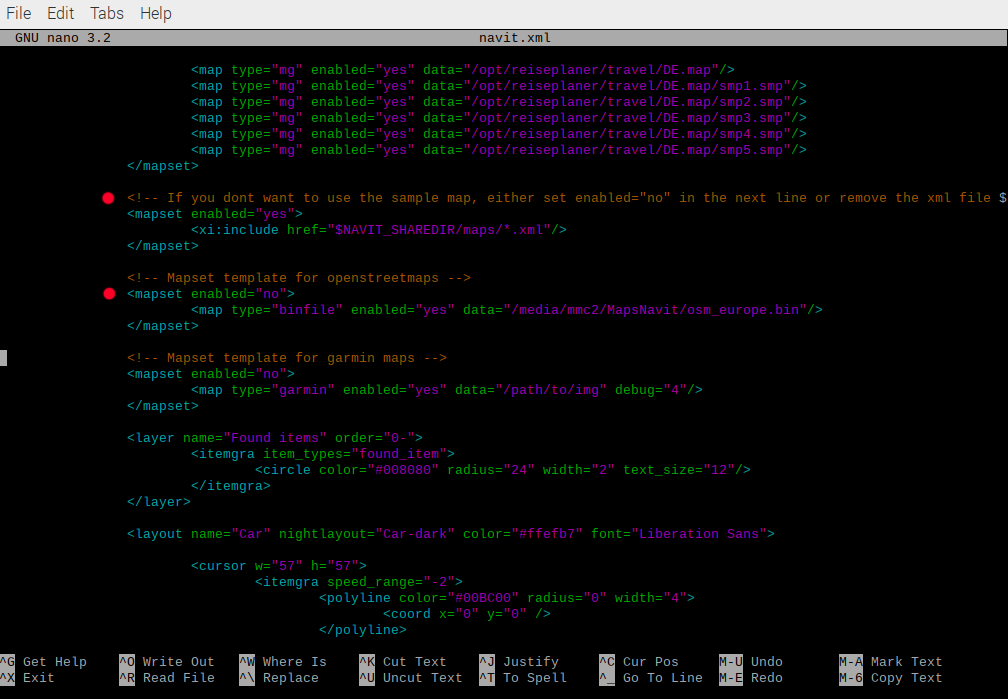
open the navit.xml file: sudo nano navit.xml
search for the line <mapset enabled=”yes”> … </mapset> and change yes to no
now look for the line after: <!– Mapset template for openstreetmaps –>
in the line after, set your map path instead of: “media/mmc2/Mapsnavit/osm_europe.bin”
save and close
start Navit
More information about configurations can be found here: Navit Wiki
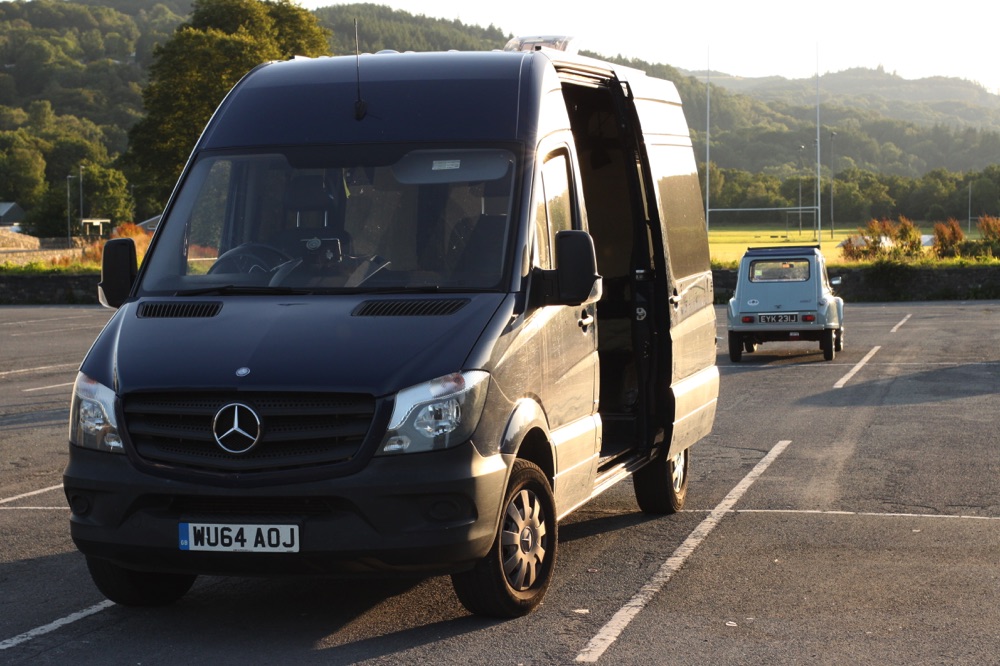
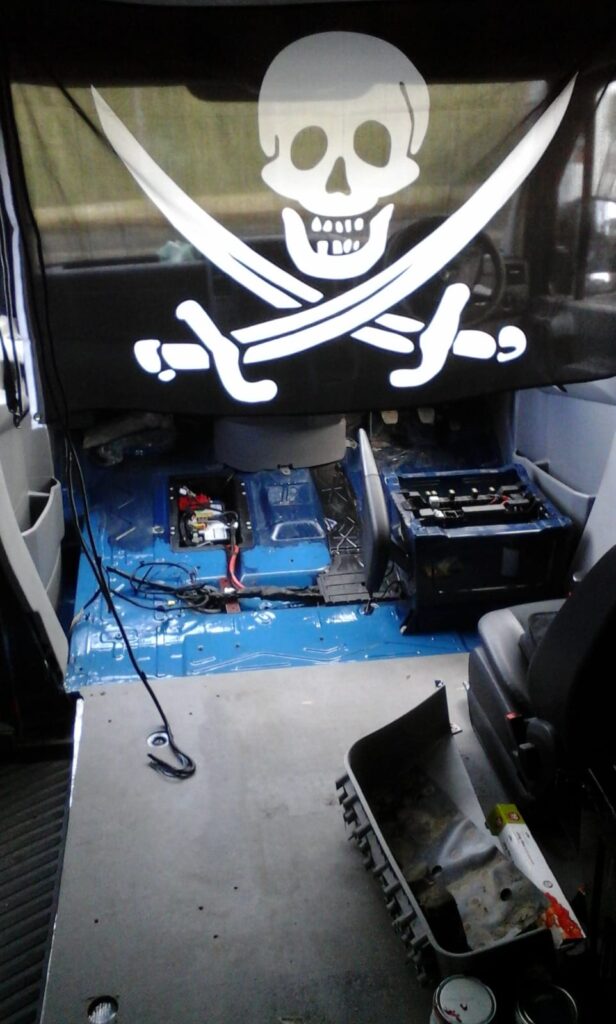
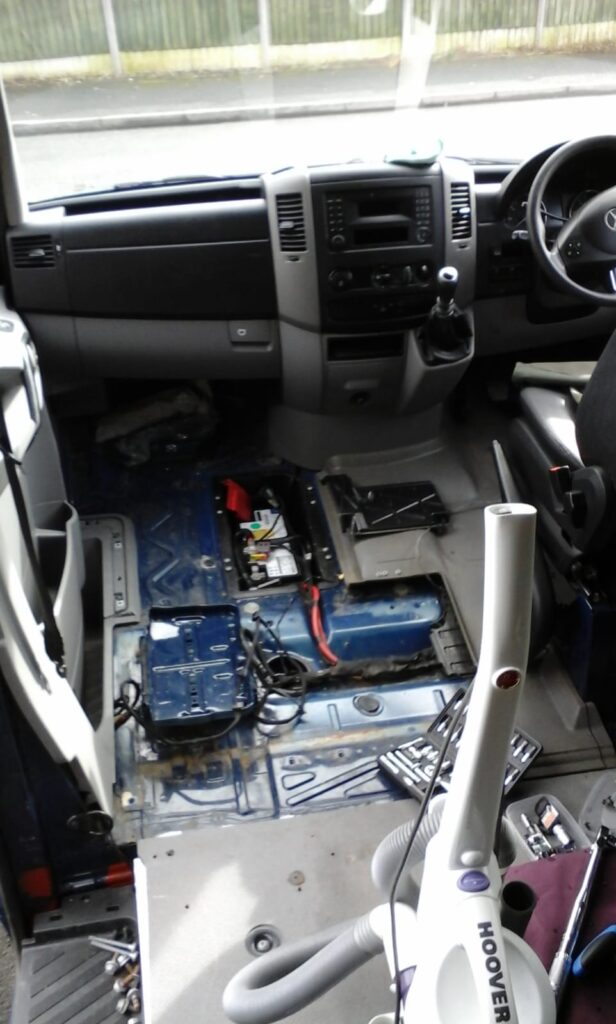
The project will be installed on board of the Sprinter Campervan (still looking for a good name… ! ) and will be called Navigator, inspired by the movie Flight of the Navigator, 1986.
Some parts have been developed, some still on going, other still on planning. I will post updates and full tutorial for replicate the project.
All related post can be found inside the Navigator category.